Here's how we completely fixed a rainbow spinning wheel of death inflicted Mac Mini (late 2012, Server) running Mojave Mac OS. Before the following measures, the Mac was devastatingly slow and taking an age to open apps like Word, Excel, Outlook, Photoshop, Illustrator and then being taken over by the spinning beach ball leading to force quits and loss of work. Despite having a capable 2.6 GHz Intel Core i7 Processor, 8GB of Ram, 2x 1TB Drives and loads of disk space the Mac was heading for the scrapheap, but it's now back to being used daily for all manner of tasks. It's refreshing to be back to a Mac that does what you would expect it to do; which is to work seamlessly without interruption. Here's how it's done.
To fix Mac Mojave Spinning wheel
To get your Mac performance back to anticipated levels try these things in order. Obviously, the best option is not to spend a penny and so they are listed with that in mind, but please do note that it was a combination of all these steps that fixed the spinning wheel of death in this instance.
1. Reset Mac PRAM / Mac NVRAM
Start with the basics and also something that cost's you nothing. Resetting your Mac PRAM ( Parameter RAM) or NVRAM (nonvolatile random-access memory) can resolve a whole manner of Mac-related problems such as generally poor performance, volume control issues, lack of keyboard response, incorrect time-zone, display resolution issues, AirPort problems, recent kernel panic information and a raft of other settings based inconsistencies across a range of Mac devices.
How to Reset Mac PRAM
1. Shut down your Mac
2. Press the power button to initiate startup
3. Before the grey screen appears, press and hold the Command, Option, P, and R keys at the same time.

4.Be sure to hold the keys until your computer restarts, and you hear the startup sound a second time. On Macs with the T2 Security Chip (such as iMac Pro), hold the keys until the Apple logo appears and disappears for the second time.
This initial step is always worth a shot and regardless of whether it fixes the spinning wheel of death its a worthwhile bit of Mac maintenance. If it doesn't resolve then move on to a more rounded solution with CleanMyMac X.
2. Clean your Mac with CleanMyMac X
MacPaw 'CleanMyMac' software titles continue to offer the best all-around solutions for cleaning and speeding up your Mac. CleanMyMac X is the latest offering and it replaces dozens of optimization tools for Mac which can significantly improve performance and indeed fix the Mojave spinning wheel. CleanMyMac is a modest investment with a single license costing just £29.99 which pivots off the back of a Free Download.
For both home users and professionals, CleanMyMac X offers all-in-one Cleaning, Speed and now Privacy & Malware removal in a simple interface. For most users, a single click of the 'Smart Scan' will be enough to clean up Gigabytes of wasted space to slimline your Mac and significantly improve its performance. We use this Mac Cleaning software regularly and below you can see the initial results of the clean on the Mac Mini.
Run the CleanMyMac X Smart Scan
Simply hit the 'Scan' button on the Smart Scan and then 'Run' when the results are displayed. In our first scan, we had a 6.33 GB available for cleanup.

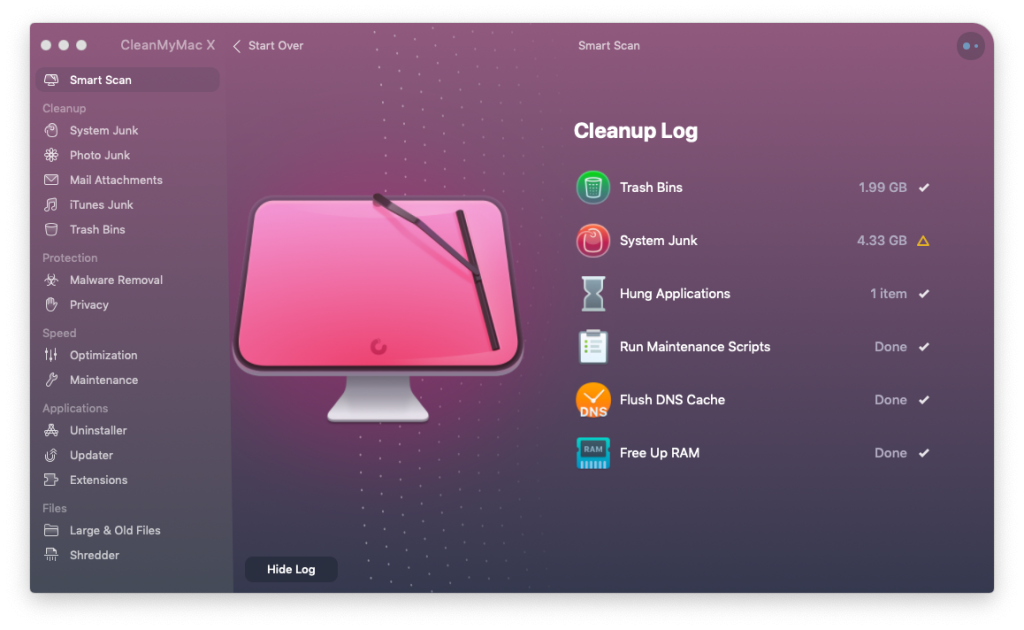
The CleanMyMac X Smart Scan is your one-stop-shop for all your Mac cleaning needs and performs Cleaning + Speedup + Protection tasks. It can:-
- Remove System Junk
- Clean iTunes & Photos
- Clean Mail app
- Empty Trash Bins
- Scan Mac for malware
- Improve system performance
When it’s done with cleaning, CleanMyMac X will enable Protection and scan your entire Mac for malware. Finally, it will offer Speed Up tasks to make your Mac faster, like Free up RAM or run Maintenance Scripts.
The outcome of running CleanMyMac X could be 4x faster boot time, 2.5x more responsive apps and 5x the amount of free space which could be enough to remove the Mojave spinning wheel. However, if CleanMyMac X couldn't fix the rainbow spinning wheel then it's time to invest in some new hardware for your Mac.
3.0 Upgrade your Mac's Hard Drive
Upgrading your Mac's Hard Drive may at first seem like a costly over-kill, but for Mac's on older Hard Disk Drives, this is the magic bullet for fixing the Mac spinning wheel. Also when you consider the time this is going to save you without the need for constantly waiting for slow or unresponsive apps it's the smart investment. The aim of this exercise is to change your Mac's Startup Drive (Mac Boot Disk) to a newer Hard Drive and for this we recommend the Samsung MU-PA1T0B/EU Portable SSD T5 1TB.
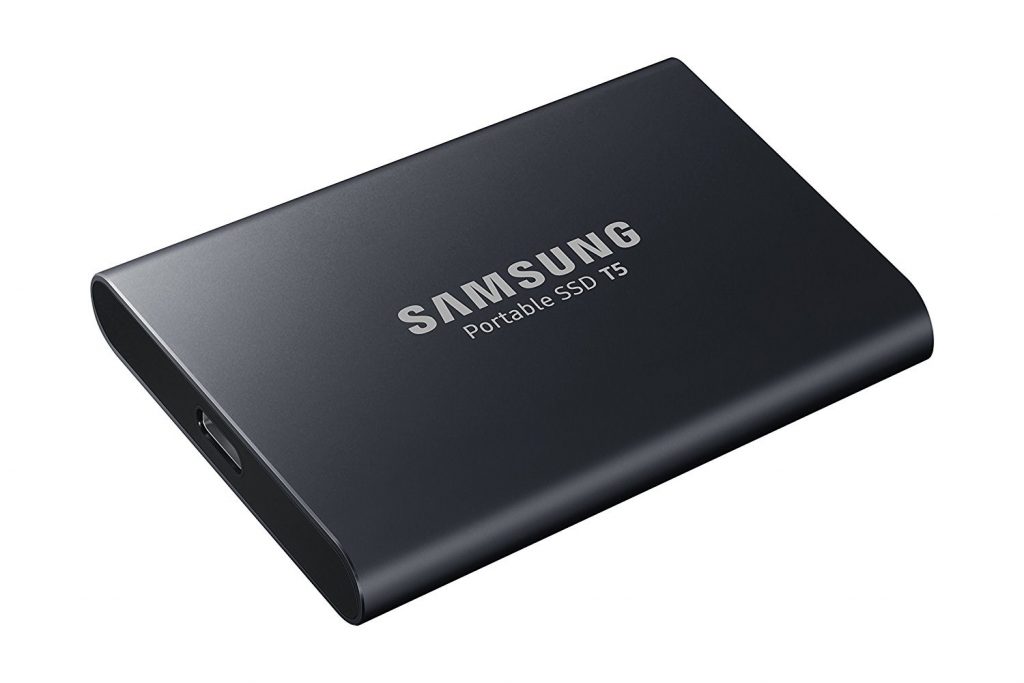
There are other great replacement hard drive options out there for your Mac and if you are feeling ambitious then, of course, you could also replace your internal Mac Hard Drive, but a portable option is quick and easy and inobtrusive as external drives are tiny these days (this one only 1 x 7.4 x 5.7 cm).
Recommendations for replacement Mac Hard Drive
Whatever hard drive you opt for to replace your Mac's Startup Drive please ensure the following:-
- It's compatible - most are but ensure it's listed as usable on a Mac OS
- It's an SSD (Solid State Drive) - don't waste your money on a standard HDD (Hard Disk Drive) as in this instance you could just be replacing like-for-like.
- It's fast. The Samsung T5 is quoted with maximum transfer speeds up to 540MB/s for all capacities.
- It's large enough. The safe bet is at least 1TB of space as Apps alone can hog up a large proportion of that.
- If it's external make sure you use USB 3.1 Gen 2 and that you have a corresponding free port on your Mac.
3.1 Format the Hard Drive for Mac
Open up the Disk Utility in your Mac's Utilities (Finder > Applications > Utilities) to format the hard drive. For our purposes, we initially formatted the drive as 'Mac OS Extended (Journaled)' (aka HFS+) as we wanted to maintain Read/Write on PC & Linux. Additionally, the Mojave installer will automatically convert the drive to APFS if it is an SSD. Installing on the latter APFS (Apple File System) prior to installing can be problematic as you may not have the required firmware support on your Mac and it will fail to boot to the next stage.
3.2 Clone your existing Mac Startup Drive
We are upgrading the Mac here so this suggests that we want to port over all our settings, Users and Applications from the existing Hard Drive and to do this we thoroughly recommend 'Carbon Copy Cloner 5'. This software makes cloning a Bootable Backup a breeze and also offers the added ability to create a backup on your external drive or back up your files to another Mac.
Select the existing Startup Drive to Clone and the Destination on the new SSD
Carbon Copy Cloner makes has a simple interface enabling you to effortlessly clone a Mac Boot Drive by selecting the old source and the new destination. It really is that simple.
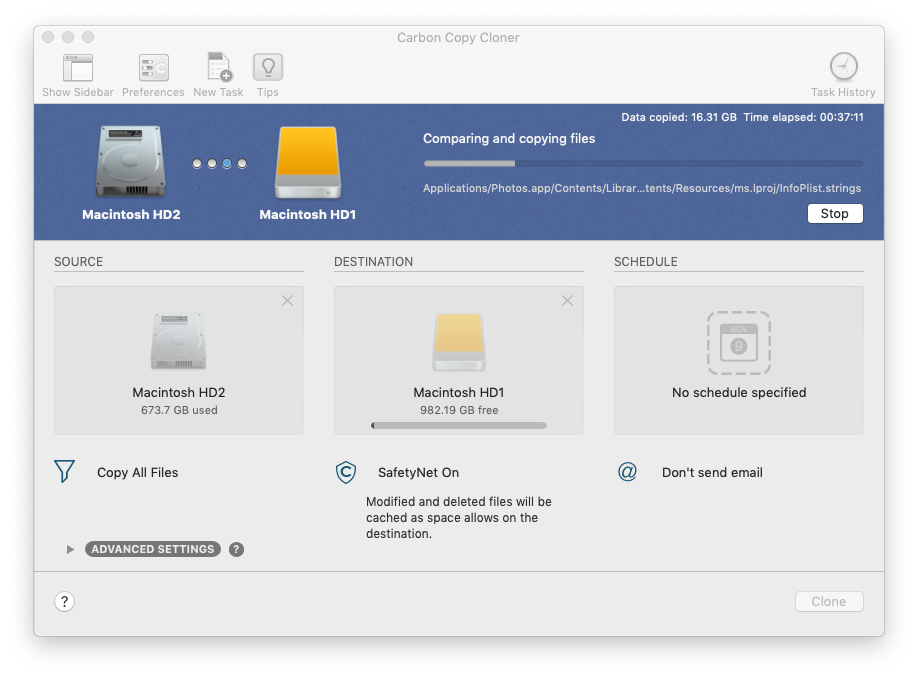
Note that this process can take a number of hours so be prepared to leave the cloning process running overnight. This is a worthwhile wait as you are avoiding the unnecessary rigmarole of re-configuring your Mac. As it says on the tin you will get a 'Carbon Copy' of your existing Mac backup.
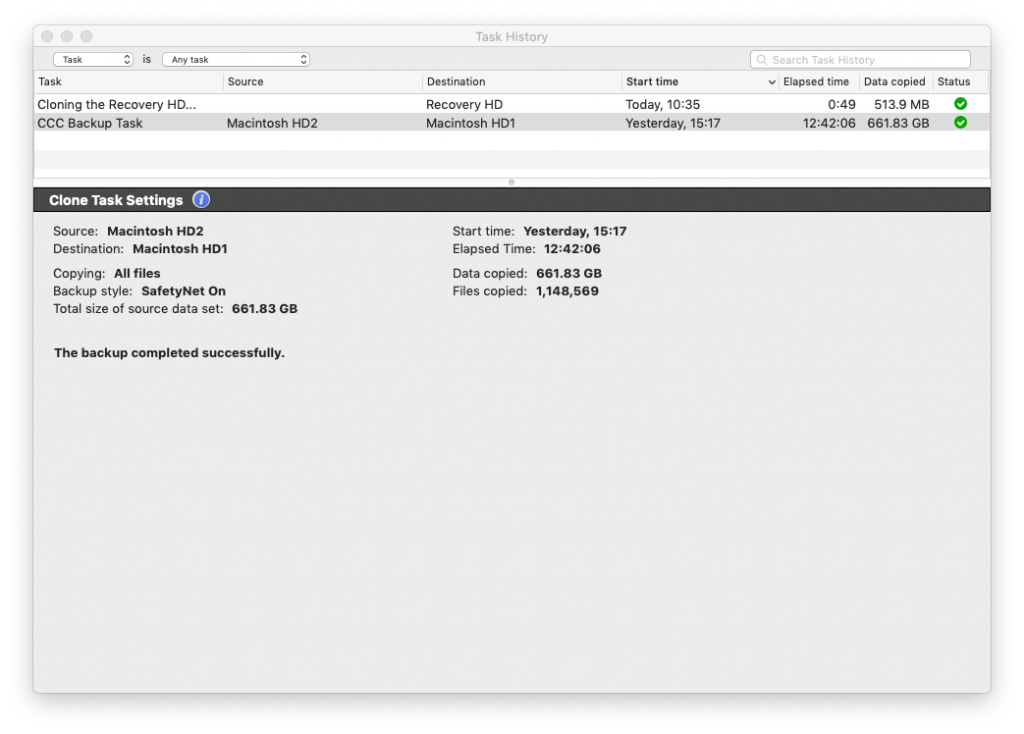
Once the cloning process has completed you simply need to change the Mac startup disk to finalise the transfer to the new Hard Drive (SSD).
Select a different Mac Startup Disk
Use Startup Disk preferences to select the new Mac startup disk.
- Choose Apple menu > System Preferences, then click Startup Disk.
- Click the padlock and enter your administrator password.
- Select your new startup disk, then restart your Mac.
On reboot, if everything has gone well then your Mac is now booting from a shiny new and super-fast Startup disk. If all did not go according to plan and you are still booting from your old Startup Disk then don't panic you can still reboot to the Startup Manager to select a startup disk by pressing and holding the Option key immediately after turning on or restarting your Mac.
The Mojave spinning wheel should now be a thing of the past, but for good measure, we recommend running CleanMyMac X again on the newly cloned drive.
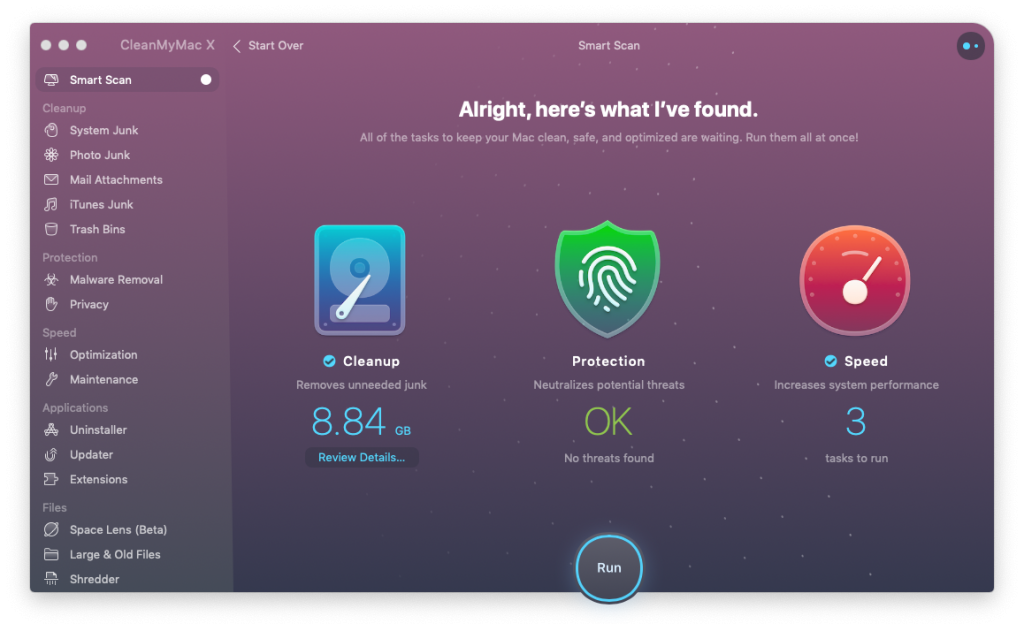
We saved a further 8.84 GB after the clone and continue to use the software on a regular basis to keep the Mac feeling as good as it did when it was run for the first time.
Let us know how you got on.




Join in the Discussion